Here’s What You Need to do After You Purchase It
Most web hosting review sites only focus on the search for the right hosting company and the right hosting plan. However, that’s only the beginning. In order to get the best experience from your web hosting and to better ensure that you create a successful website, you need to do these 7 things right away.
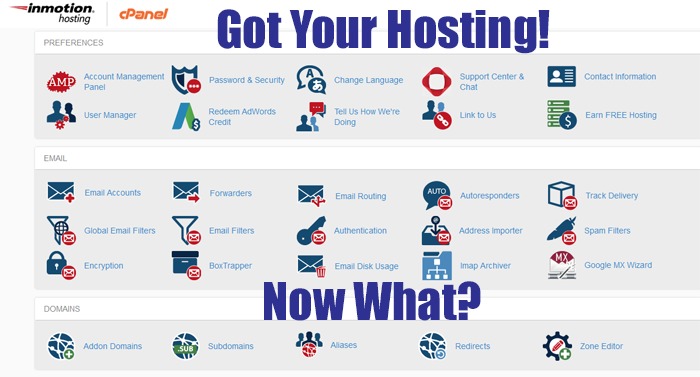
1. Become Familiar with Your Account and Control Panel Interfaces
Since you’ll need to utilize your control panel to access your account information and your web hosting functions, you need to be very familiar with your environment. Most hosting companies have separate control panel interfaces for both your hosting account and your website functionality.
Be sure to login and take a look at your account and billing profile, and be aware of how to update the information. Next, log in to your cPanel or your host’s custom control panel to access your website functionality. Take a look at what functions are available and become familiar with the navigation.
2. Set the NameServers of Your Domain
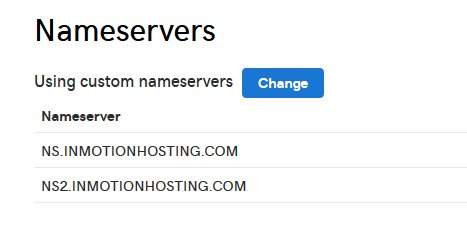
If you received your domain with your hosting plan, then you can probably skip this step. But if you purchased your domain separately, or you’re using an existing domain from somewhere else (e.g. GoDaddy), then you need to set the NameServers of your domain to point to your web host’s servers.
Your hosting company will provide you with the NameServer information. The process of setting up your NameServers may vary depending on your host. Be sure to contact them if you need assistance.
3. Create Your Email Accounts

Having your own email address with your website domain gives you a more professional appearance. Creating your email account is usually a very easy process whether you’re using cPanel or another type of control panel. Basically, you’ll need to specify the email address and assign a password.
4. Install the Right Web Application Software

Now that you’re familiar with your control panel interface, you can access and install your website application software. These days, most web hosts provide easy one-click installation for software applications like WordPress, Joomla, etc. For example, with cPanel you can use the Softaculous installer to install the available website applications.
In some cases, your web hosting company will pre-install an application such as WordPress for you.
5. Set Up Your FTP Connection

In order to upload and download files to and from your hosting account, you’ll need to use FTP (File Transfer Protocol). Your host should provide you with your FTP login information. You can use one of the many free FTP clients in order to work with your files. I use FileZilla myself.
Alternatively, you can also use the file manager in your control panel to upload and download files. Sometimes it’s easier or more convenient to work this way. However, FTP is the more traditional method for transferring files, and you can use FTP with any host.
6. Verify that Your SSL is Installed

SSL is a must these days for added website security. In fact, it’s so important that most web hosting companies include free Let’s Encrypt SSL certificates with their hosting plans. Usually, once you point your domains to your NameServers (see Step 2 above) and add the domain to your hosting account (if it isn’t already there), the SSL will be automatically installed.
However, you should verify that the SSL is in place. To check, you can go to your control panel and look for the SSL installations. For example, in cPanel you go to the SSL/TLS Status area and all of your domains with SSL certificates will be listed.
7. Test and Create Your First Data Backup
Data backups are crucial to protect your website against attacks. By far the best website security is to have a current backup you can restore should some unforeseen circumstance occur and your site become unavailable online.
Here again, your web host can help you out by providing automated data backups as a courtesy. However, you should always perform your own backups as well—just in case.
To make sure you’re familiar with the backup process, once you get started on your website you should go to your control panel interface and perform a test backup. You may have a choice between multiple backup options. For example, with some web hosts, you can use either your cPanel backup function or a customized backup function that is included. For instance, A2 Hosting includes their Server Rewind Backup functionality, which provides automatic backups plus the ability to perform a backup on demand.
If You Need Assistance with these Steps…
If you have any issues or need help in performing the above steps, don’t hesitate to contact your web host’s customer support department. A quality web hosting company will not only include phone, email, and support ticket access, but you should also be able to connect via live chat for instant assistance.
After you’ve performed these tasks, you should be very comfortable working with your hosting account—allowing you to have a more enjoyable and successful experience with your websites.
